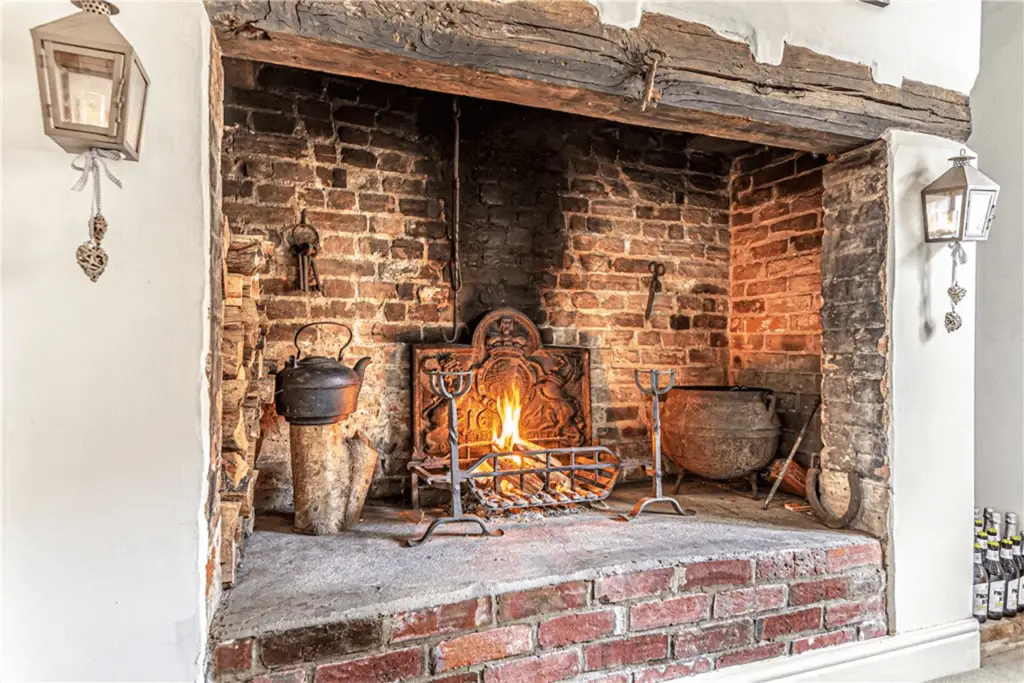
Are you the proud new owner of a home with an inglenook fireplace? They really are a thing of beauty. A piece of living history that your family can interact with on a daily basis – but especially during the cooler months.
But if you’re new to inglenooks and fire lighting in general, you may be wondering how to light an inglenook fireplace properly.
Our step-by-step guide will take you through what we consider the best way to get a welcoming fire going.

The Best Way to Light an Inglenook Fireplace
Step 1: Fire Safety First
Even if you’re desperate to roast your chestnuts on an open fire, safety must come first.
And, if your home is new, you can check the survey to see if there is any structural issue that would stop you from having a fire.
With this box ticked, the next question is, have you had your chimney swept? Having your chimney swept annually is a necessary step to ensure that your lovely fire doesn’t turn into a towering inferno.
It’s also probably in your insurance policy, too, so it’s not a step to skip.
Your chimney sweep can also let you know if your fireplace is sound. And if he gives you the thumbs up, you’re ready to go on to the next step.
Step 2: Add Tinder To Your Grate
Who would have thought, laying a fire in an inglenook would be controversial? But this step might have some opponents, and we’re OK with that.
We are very much in ‘grate’ camp for inglenook fireplaces. Some inglenook owners don’t bother with a grate at all and some use a fire tray. But we like a grate to allow more airflow around the fuel.
Is your grate clean? Good. Now you’re going to place your tinder in the bottom of the grate.
Many people use crumpled pieces of newspaper as tinder and this is a sustainable choice, too, if you like to read the headlines over your morning coffee.
Alternative natural tinder choices are: sawdust or wood shavings, pinecones, dried bark, twigs or dried flower stalks.
Step 3: Lay Your Kindling
Kindling, which is short, thin and dry pieces of wood, should be laid over the tinder.
Don’t pack the kindling too tightly as some airflow is needed for the fire to spread and the kindling to catch.
We’d suggest using the traditional criss-cross shape to add stability to your base.

Step 4: Add Your Fuel
After your kindling is laid, you can add coal or logs on top.
It’s best to start with either coal or logs. If you lay both, you may overload your fire setting and the pile will become unstable.
If using coal, make a pile in the middle of your base. This will leave room for them to settle as they heat.
Using only logs? Similar to the kindling, use the criss-cross method. Start with a few logs laid side-by-side and on a couple on top with a little gap between them for air to circulate and help the flame to catch.
If you insist on starting your fire logs and coal, lay a few lumps of coal on the kindling then place a small log or two on top of the coal.
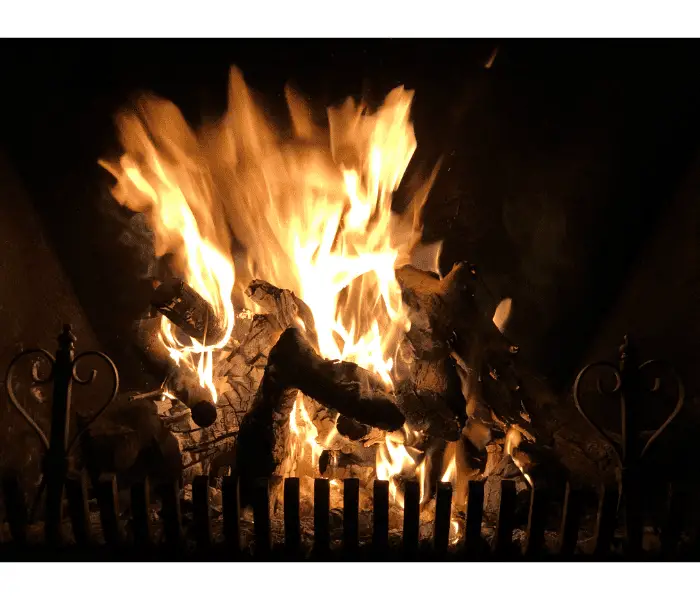
Step 5: Light Your Fire
Strike an extra-long match or electronic firelighter and light your tinder in a few places around the edge. Sit back and wait for the magic to happen.
Keep your eye on your fire as it catches and add more fuel when you think it needs it. If you started with logs, you can add coal after the top logs have started to flame.
And remember, it takes around 30 minutes for the fire to warm your chimney and for the fuel to be self-supporting.
But that gives you plenty of time to make a mug of something warming, grab your book and snuggle up in front of your roaring fire.